Crocheting is more than just a craft; it’s a journey of creativity and self-expression. When it comes to crocheting, there exists A captivating stage that can transform your projects into texture, works of art. The double crochet embodies texture and elegance that sets your creations apart.
The double crochet bobble stitch is a versatile technique that adds a new dimension to a crocheting repertoire. With each carefully crafted bobble, you are adding a touch of them, a – of sophistication, and a whole lot of visual intake to your creations. The double crochet bobble stitch is in just about creating stitches; it’s about creating moments of creativity, connection, and sheer satisfaction.
In this tutorial Guide, we will unravel the magic of the double crochet bubble stretch step by step. From its construction to unveiling the several ways of incorporating it into your projects, we will take care of everything.
Understanding the Double Crochet Bobble Stitch: A Texture Marvel
This unique double crochet bobble stitch brings forth a delightful play of dimension, adding a touch of whimsy and elegance to your creations. Let’s dive into the essence of the crochet bobble stitch and uncover its captivating magic.
At its core, this technique creates raised clusters of stitches, forming charming bobbles that decorate your work. Besides being an aesthetic element of your creation, they introduce a tactile delight to your crocheted species. As your fingers glide over the surface, you will encounter the gentle rise and fall of these clusters, which transform an ordinary item into a delightful sensory experience.
What sets the double bubble stretch? Apart from this is its ability to break the monarchy of flat surfaces. Each bobble is a testament to your craftsmanship, a mini-masterpiece that demands attention and visual depth. As you place the bobble strategically, you can create fascinating patterns that turn ordinary into extraordinary.
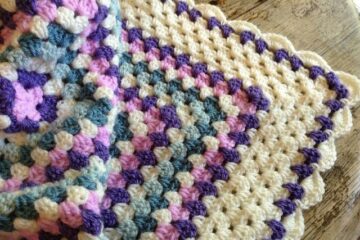
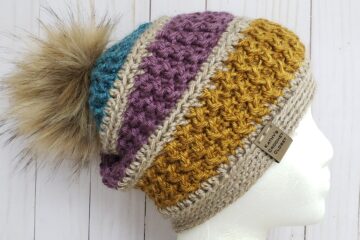
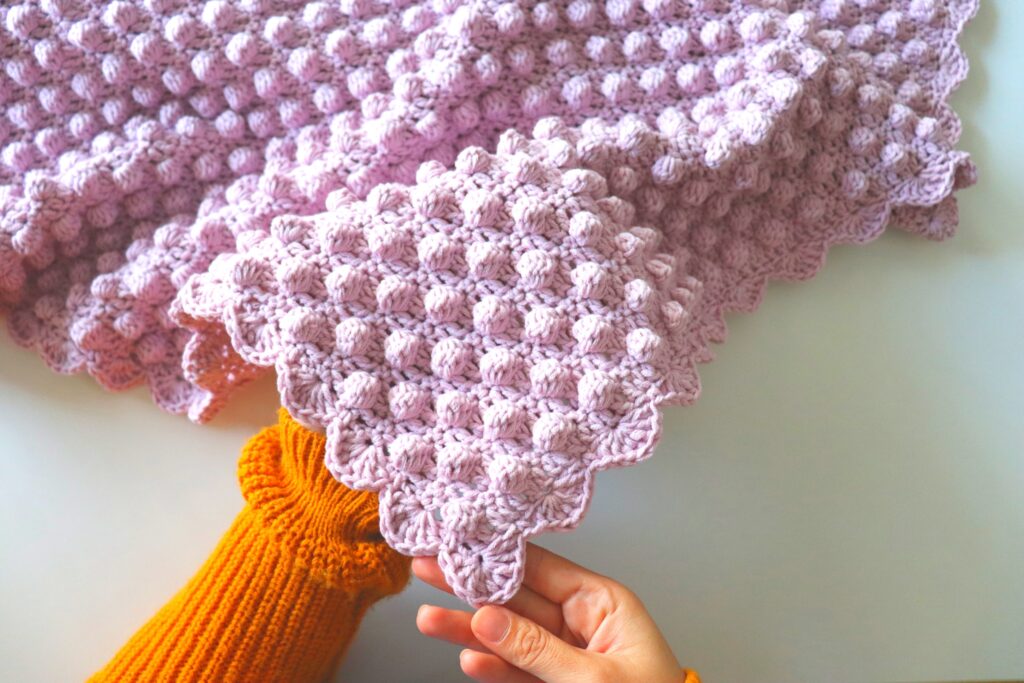
Whether it be a cozy blanket or any other accessory adorned with rows of bobbles, they create a symphony of dimension that catches the light in all the right places. You can also add these stitches to home decor items to elevate the decoration of your home.
But beyond its tactile and visual appeal, double crochet bobble stitch also introduced an element of creativity. You can vary the size, space, and color to customize your bobbles as per your vision. You can incorporate them sparingly all to create a cascade of clusters to infuse personality into your work.
In the next sections of this Guide, we will dive into the intricacies of crafting a double crochet bobble stitch. We will unravel the steps, explore the tips for perfecting the technique, and uncover its diverse applications. With misunderstanding, you will unlock the potential to transform your crocheted pieces into texted marvels.
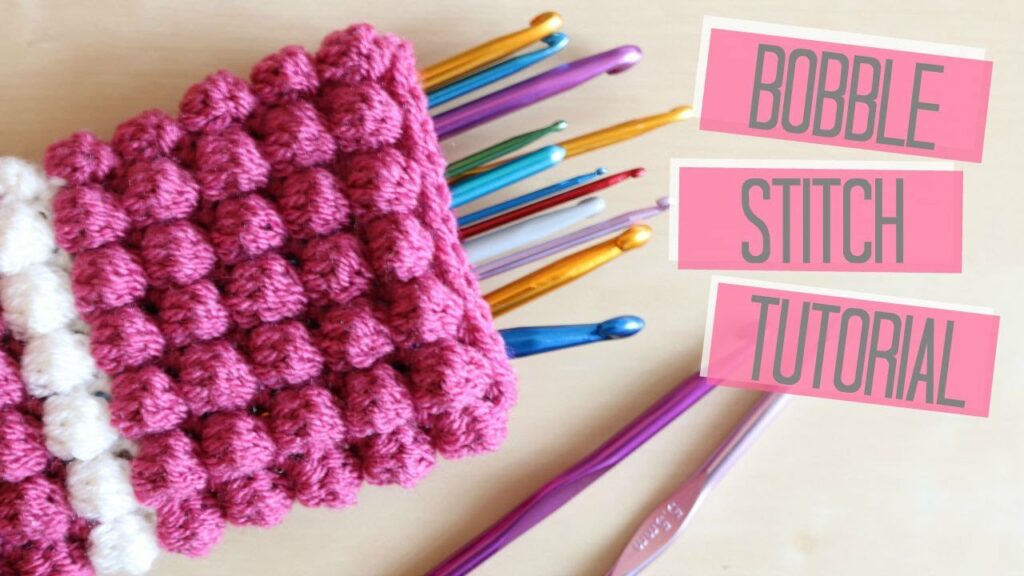
Step-By-Step Guide to Creating the Double Crochet Bobble Stitch
Creating a double crochet bobble stitch may seem intricate, but with patience and practice, it becomes a delightful addition to your crochet techniques. To master this captivating technique, you should follow the steps given below. This comprehensive guide will take you through the whole process, from the foundation row to transitioning the stitch.
1. Foundation Row
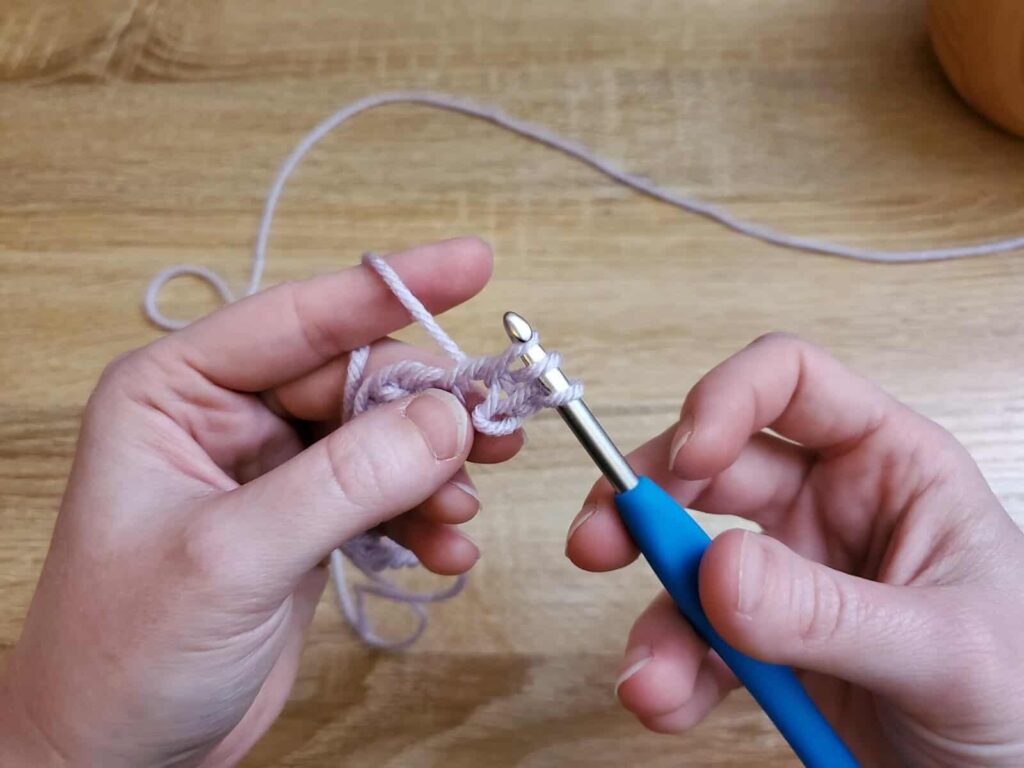
First work 5 incomplete double crochet stitches into the SAME stitch. Incomplete double crochet is a double crochet that is worked up to the last yarn over that completes the stitch. Working into the same stitch, yarn over, insert the hook into the stitch, and pull up a loop.
Yarn over and pull through 2 loops. 2 loops are left on the hook (and one incomplete double crochet is made). Repeat these steps 4 more times.
2. Initiating Bobble Stitch
Start with the enchanting process of creating the double crochet bobble stitch. Yarnover and insert your hook into the designated space. Follow this by yarning over again and gently pulling up a loop.
In this initial moment, you have laid the foundation for the intricate texture that will soon emerge. With three loops now on your hook, you are embarking on a journey of creativity. This step might be simple, but it is extremely vital as it primes your hook canon to transform ordinary stitches into captivating bobbles.
3. Building the Bobble
Follow these steps to create a bobble in the double-crochet
- Knit a chain with an even number of stitches.
- On that chain stitch row, do a double crochet.
- Start double crocheting 1 stitch and turn your project to start the little bobbles.
- Crochet 5 double stitches, using as a base the first stitch you have from the last row. Leave the stitch ‘waiting’ onto your WAK crochet needle (do not close the stitch).
- Once you have all crochet double stitches done, take more wool yarn with your needle and the yarn through the 5 stitches. You must slide the thread with your crochet needle through these stitches and pick them up.
- If you wish to continue crocheting more bobbles, it is important to know that if you want to separate the bobbles more, you must crochet 2 or 3 double stitches more.
4. Completing the Bobble

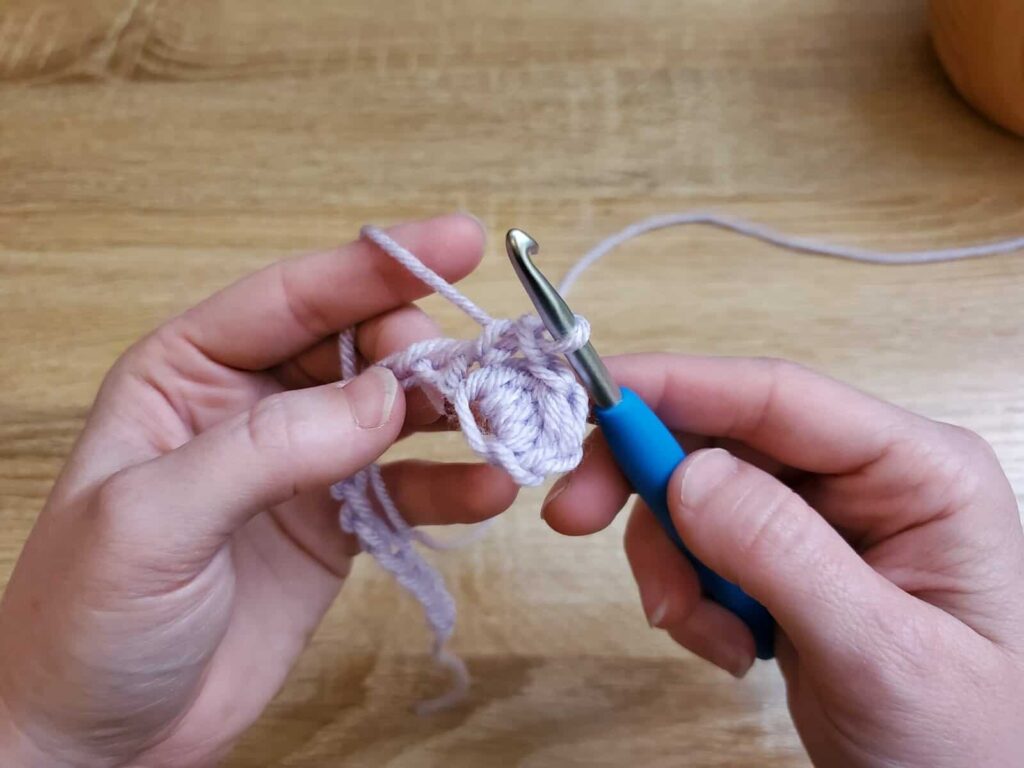
As the climax of your double crochet bobble stitch nears, finalize the process with detailed clarity. Yarn over and pull through all four loops on your hook in one simple step. This unified action will ensure that the task of layering stitches gets easy.
With this harmonium, your bobble takes its final form. To preserve this exquisite texture, the chain one is a sturdy log that keeps the bobble intact. With this single stage, you bring in the essence of your artistry, infusing your crochet creation with tactile art and visual appearance.
5. Transition to the Next Stitch
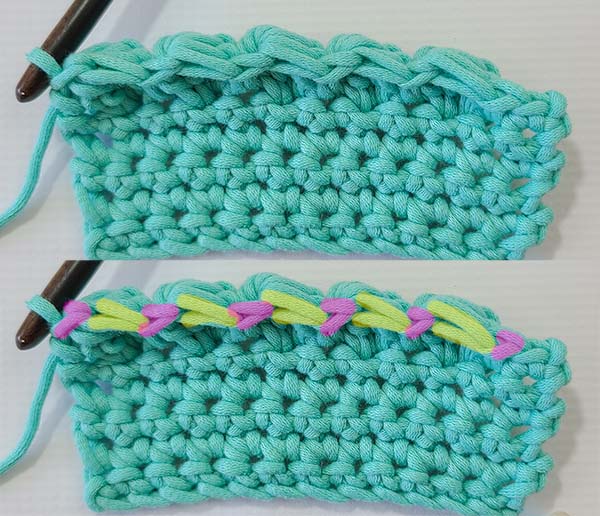
Having brought your double crochet bobble stitch to life, it’s time to transition to the next stitch in your pattern seamlessly. Skip the stitch immediately following the completed bobble, as indicated by your pattern. This strategic pause sets the stage for the next phase of your crochet journey.
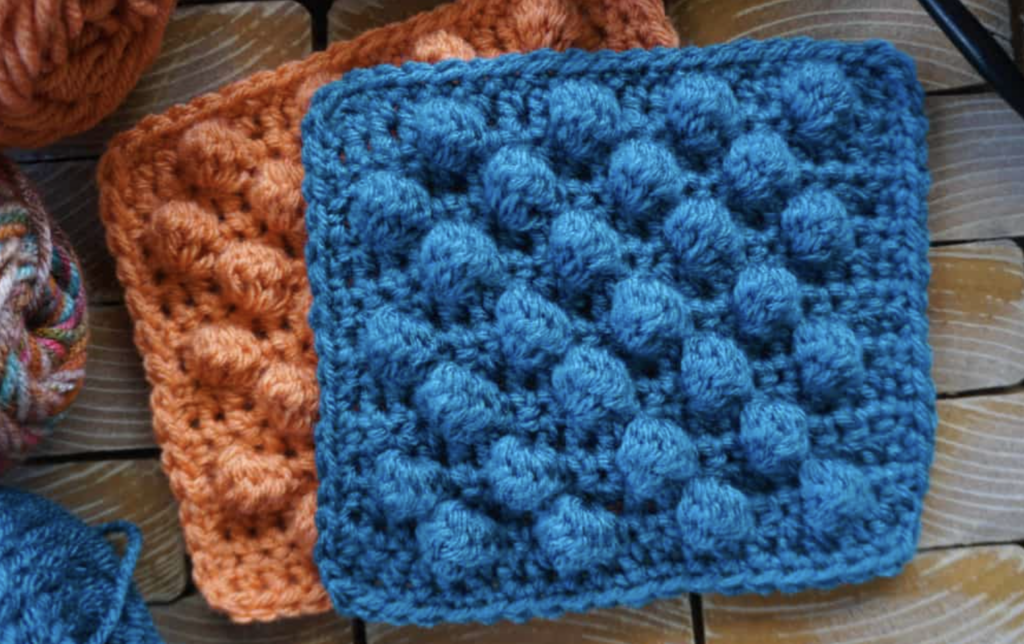
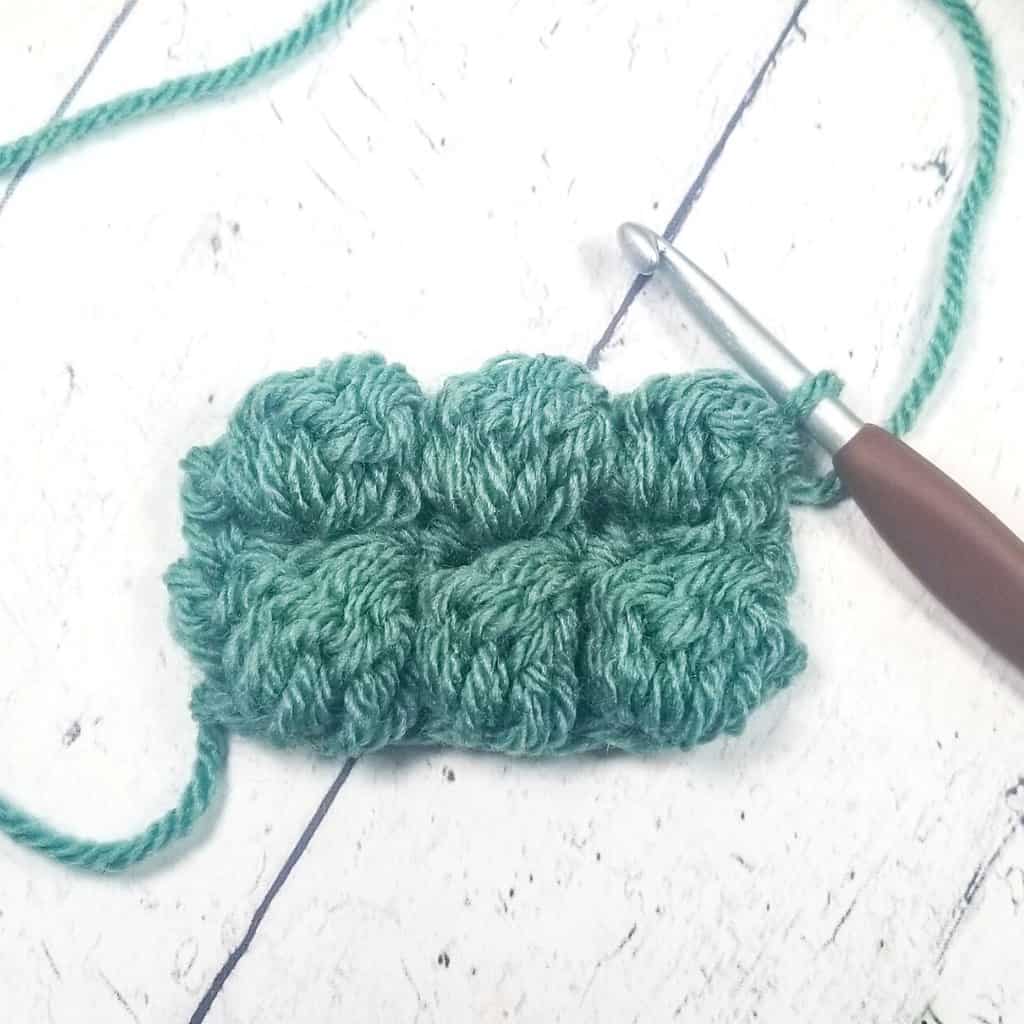
The amount of single crochets you work between the Bobble Stitches will increase the space between them. So, if you want virtually no space like in the image above, you’d work only 1 single crochet. If you wanted more space, you’d work more single crochets.
The more single crochets you place between each Bobble Stitch will increase the space between them. It’s important to see how this row leans and how you’ll identify the tops of the stitches to work into for the next row before you head off to practice.
Tips for Perfecting the Double Crochet Bobble Stitch
As you stand at the tip of your creativity, having mastered the art of the double crochet bobble stitch, a seamless transition to the next stitch is the gateway to your crocheting journey’s continuity. After completing the mesmerizing texture of the bobble, it is essential to move smoothly. Shift your focus to the stitches that await. This is where the rhythm of your crochet work becomes akin to a symphony. Each note or stitch should perfectly harmonize with the next, thus creating a beautiful composition that captures the eye and the heart.
Follow the tips below to make your double crochet bobble stitch process smooth.
- Consistent Tension: Maintain uniform tension throughout your stitching. Avoid overly tight or loose stitches, as they can disrupt the symmetry of your bobbles.
- Practice Swatches: Before incorporating bobbles into a larger project, create practice swatches. This helps refine your tension and familiarises you with the stitch’s rhythm.
- Count Carefully: Double-check your pattern instructions to ensure you place the correct number of stitches before and after each bobble. This keeps your design balanced.
- Hook Placement-When inserting your hook into a stitch or space, aim for the center to maintain symmetry and create even bobbles.
- Experiment with Yarn: Different yarn weights and textures can alter the appearance of your bobbles. Play with various yarns to achieve your desired texture.
- Varied Stitch Heights: Alter the number of double crochet stitches within a bobble to create different textures. Experiment with three or four double crochets for unique results.
- Chain Tension: Pay attention to the chain stitch that secures each bobble. It should be snug enough to hold the bobble in place but not overly tight.
- Consistent Bobble Size: Strive for uniform bobbles within your project. Consistency in size enhances the overall aesthetic and maintains visual harmony.
- Gauge Awareness: Bobbles can affect your gauge. Be mindful of this when designing or following a pattern that requires specific measurements.
- Blocking Bobbles: Once your project is complete, consider blocking to even out any irregularities and showcase the texture of your bobbles.
- Adapt Bobbles: Don’t hesitate to incorporate bobbles in unexpected places, such as accessories or borders. Adapt the stitch to suit your project’s creative vision.
- Bobble Spacing: Experiment with varying distances between bobbles to create unique patterns. Closer bobbles produce denser textures, while wider spacing offers a more open look.
- Visual Contrast: Bobbles can stand out even more with contrasting colors. Experiment with color changes to accentuate their texture.
- Precision in Turning Chains: Maintain consistent turning chains when starting new rows to ensure a neat and uniform appearance.
- Pictorial Guide: If learning from written instructions, consider using pictorial guides or video tutorials to visualize the stitch’s execution.
Remember, perfecting a double crochet bobble stitch is a journey that rewards patience and persistence. Embrace the learning process, and with each state, you’re not just creating bobbles; you are weaving a masterpiece. As you become more familiar with its new answers, you will unlock the ability to create captivating textures that infuse your crocheted pieces with depth and allure.
Mastering the double crochet bobble stitch is more than a technical achievement; it’s a journey of creativity and craftsmanship. From the initial insertion of the hook to the rhythmic dance of yarnovers, you’ve crafted a symphony of texture that resonates with the soul of your artistry.
Conclusion
As the final loop is pulled through, completing your double crochet bobble stitch, you’ve not only woven threads of yarn but also woven a touch of magic into your crocheted creations.
This textured technique transcends the ordinary, turning simple stitches into raised clusters that invite touch and admiration. With each bobble carefully crafted, you’ve added a layer of tactile delight and visual intrigue that elevates your projects to new heights.
The bobbles you create are not just stitches; they’re a testament to your dedication, patience, and skill. They tell a story of innovation, experimentation, and the joy of exploration. Whether adorning a blanket, gracing an accessory, or weaving through an intricate pattern, the double crochet bobble stitch brings life and depth to your crochet canvas.
So, embrace the rhythm, experiment with variations, and savor the process. With each bobble, you’re adding your signature touch to the tapestry of creativity. As your crochet journey unfolds, remember that each textured cluster is a tangible representation of your craft and passion, turning yarn into art and stitches into stories.